Installation Process
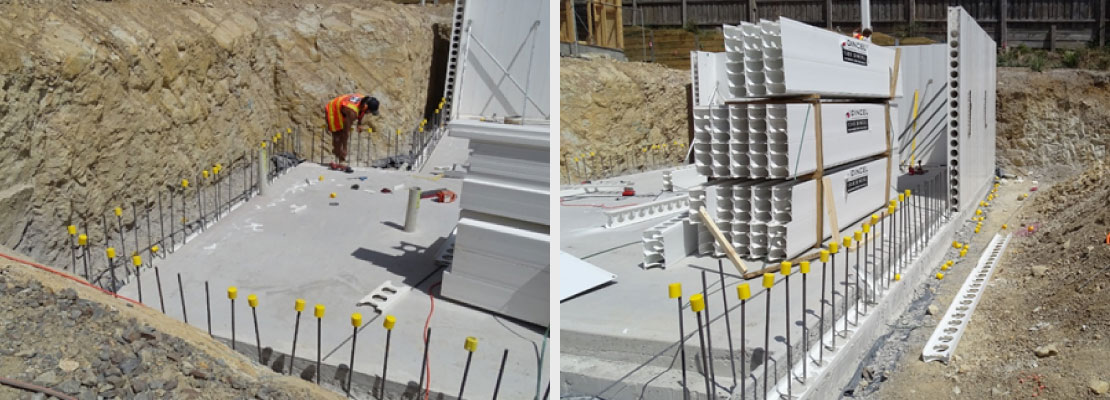
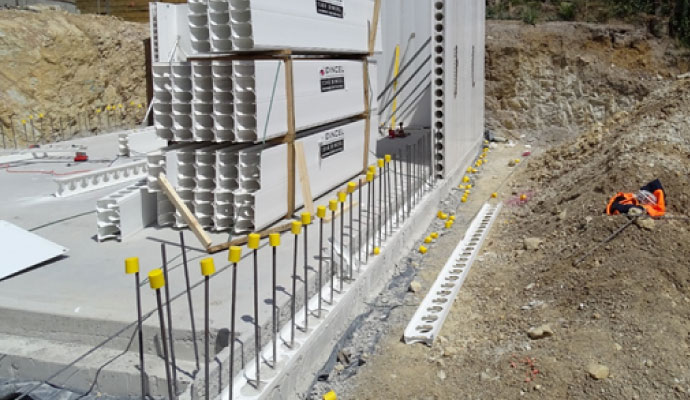
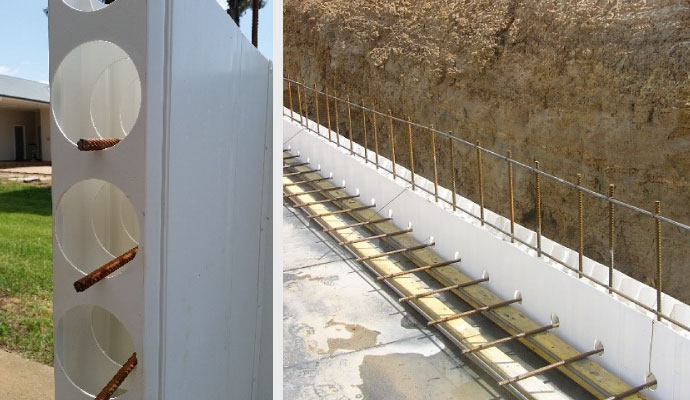
Confirm wall footprint & Starter bar spacings, as specified.
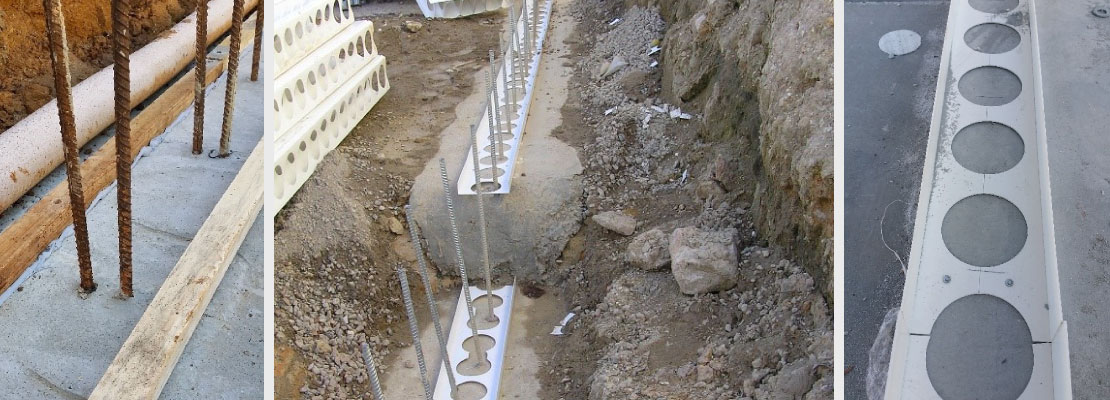
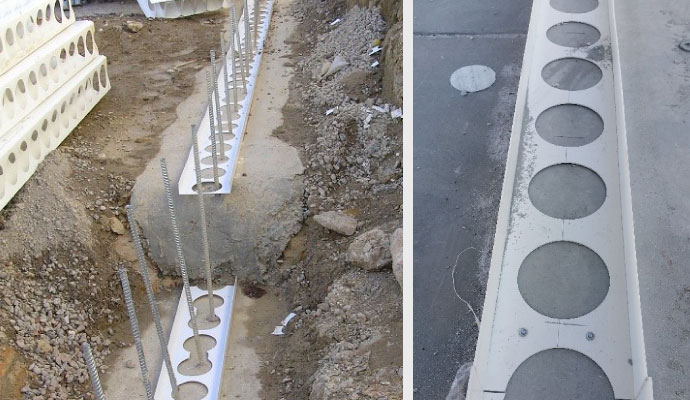
Flick stringline & Install wall base guide track accessories, timbers or angles to establish wall location.
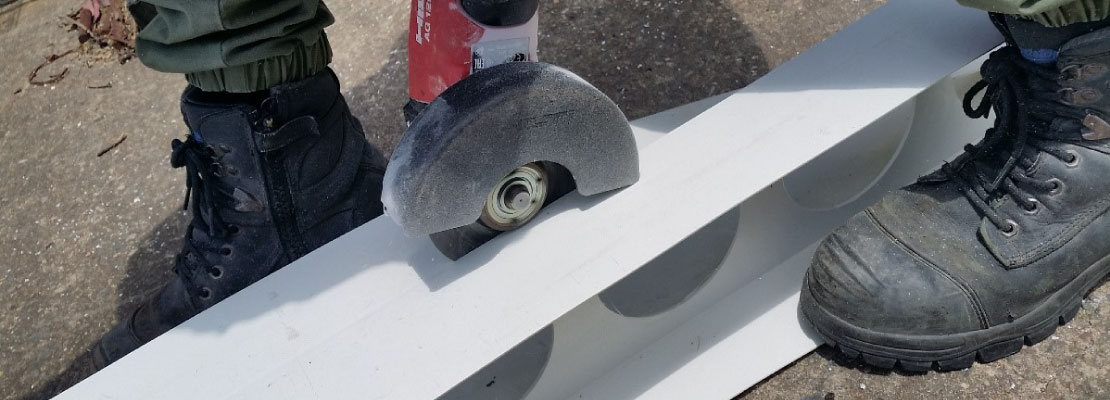
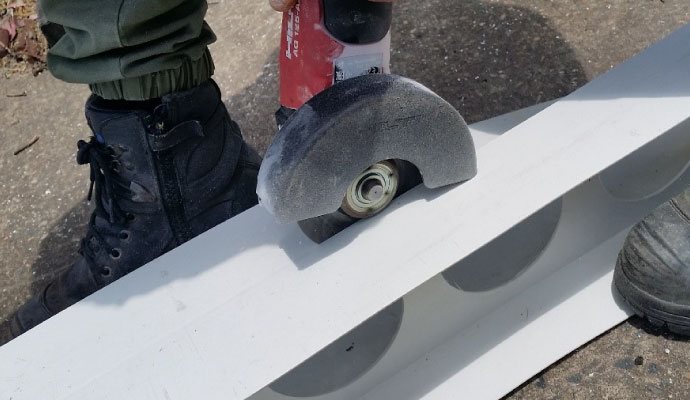
Dincel panels & accessories can easily be cut on site with cordless power tools.
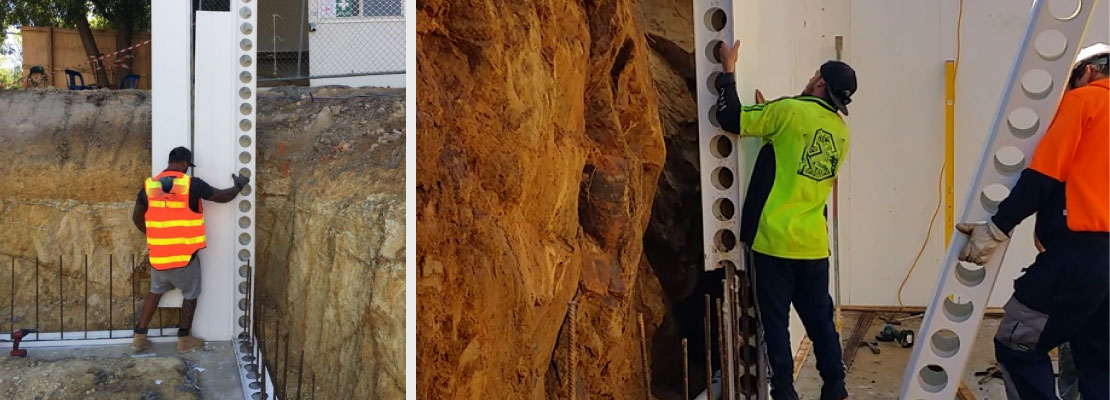
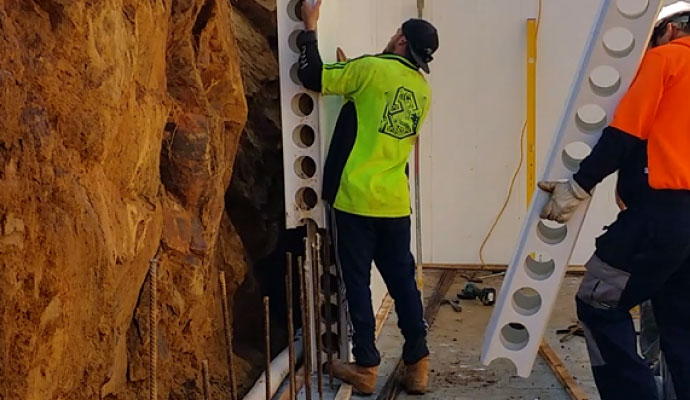
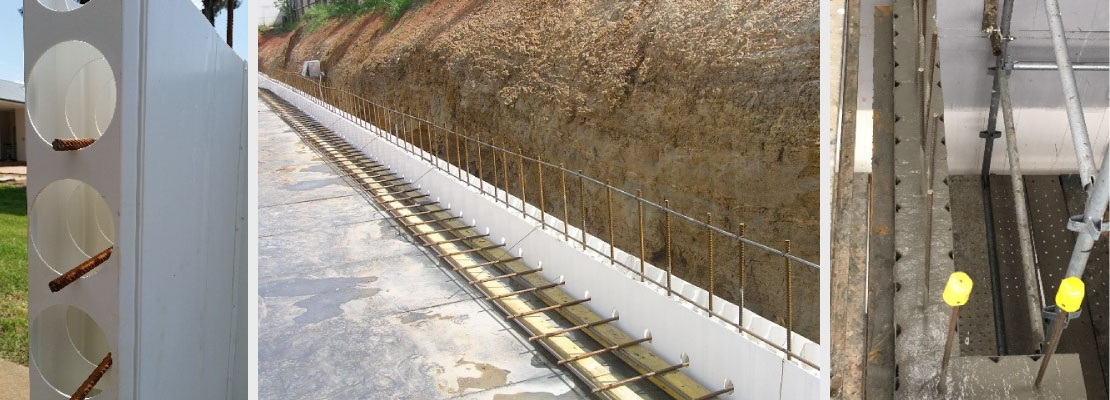
Lightweight panels simply snap together & slide over starter bars into position.
Simply place reo bars (vertically as specified and horizontally at 150mm increments if required).
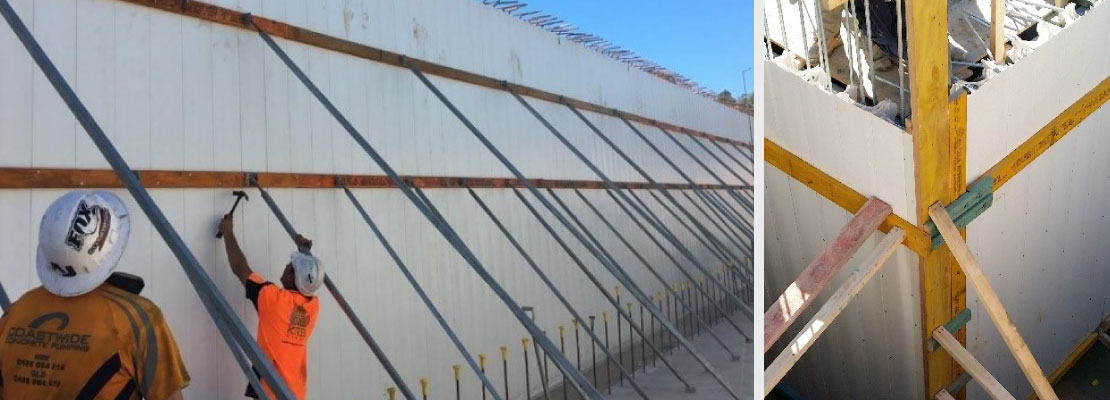
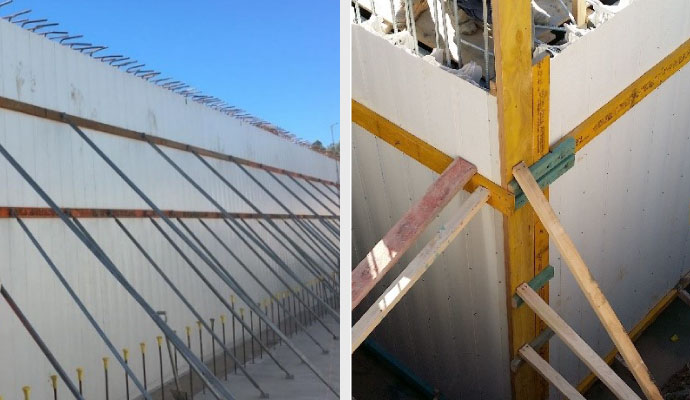
Brace walls with props & walers (optional) or by fixing to formwork deck above & additional stiffening supports to openings & wall ends.
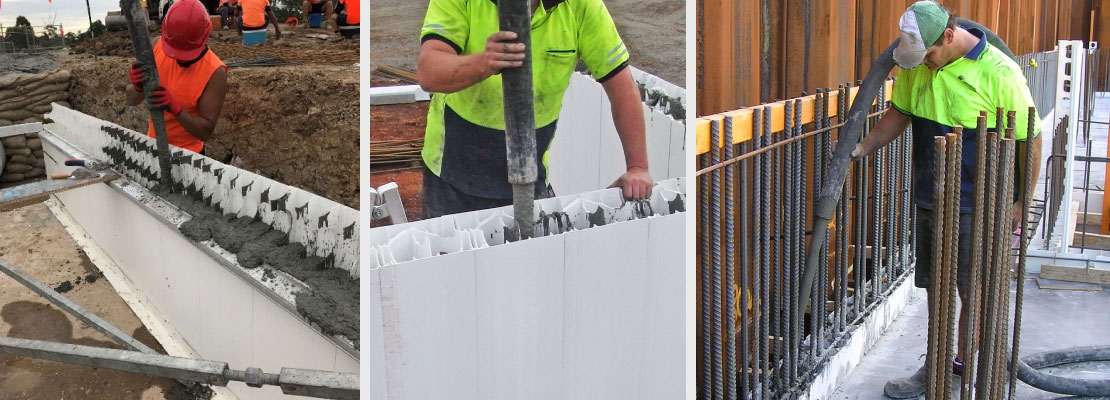
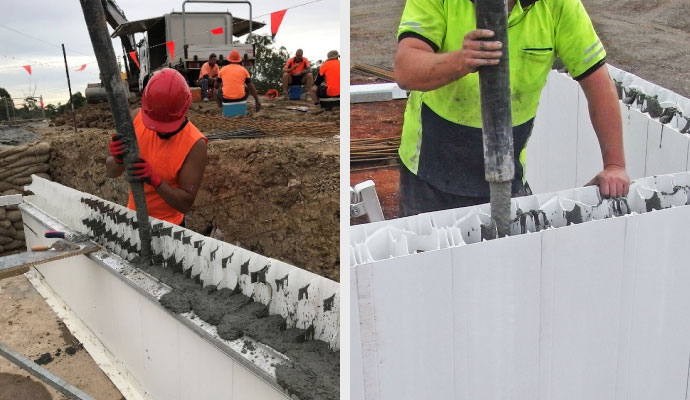
Dincel panels are filled with ready-mix concrete after Engineers sign-off. It’s important that the pump nozzle is directed at the webs of the panel.
Finishes
Dincel Civil Solutions can provide optional finishes or make recommendations on finishes for your project.
Finishes for Dincel include:
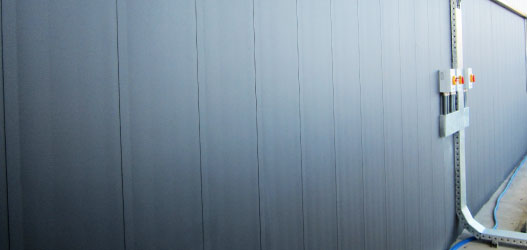
- Bare Dincel Where a decorative finish is not required (for most civil projects such as pits, underground tanks & culverts) Dincel walls are left bar.
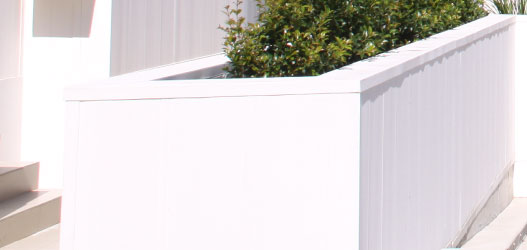
- Paint Dincel can be finished with PVC compatible paints.
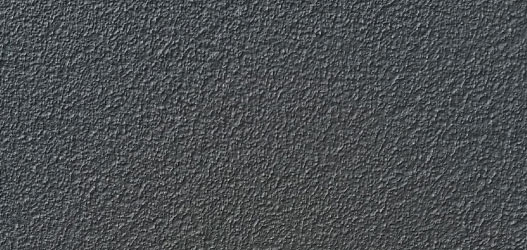
- Rendered Dincel can be finished with PVC compatible renders (typically acrylic) in a variety of smooth, textured and stenciled finishes.
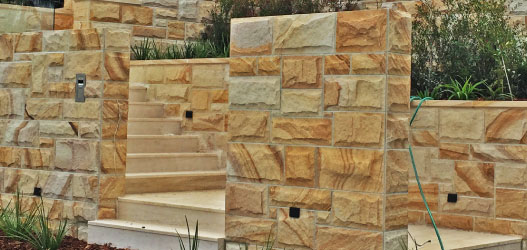
- Cladding Options include stone, timber, metal or other commercially available NCC compliant cladding.
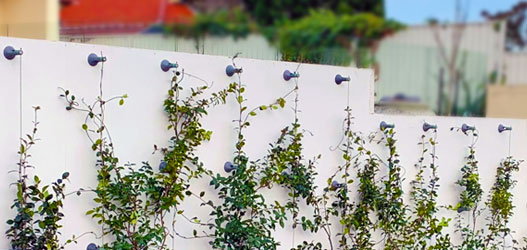
- Green Wall Fixtures can be secured to Dincel to create a green wall.

